shooting
Choosing the right location for a photography shoot is crucial for creating successful and impactful images. Here are some key factors to consider when selecting a location:
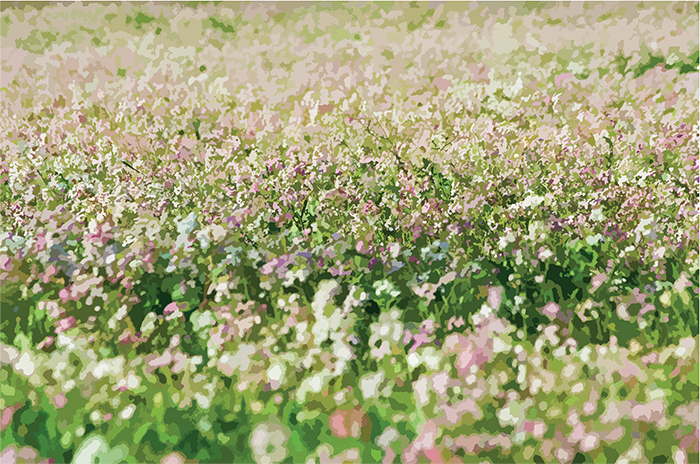
- Purpose: Start by identifying the purpose of the shoot. Are you looking to capture a particular mood or theme? Will the images be used for personal or commercial purposes? Knowing the purpose will help you select a location that aligns with the goals of the shoot.
- Lighting: Consider the lighting conditions of the location you're considering. Natural light is ideal for photography, so look for locations with plenty of open space and good natural light. If you plan on shooting indoors, consider the available lighting and whether you'll need to bring additional equipment.
- Background: Look for locations with interesting backgrounds that complement the purpose and theme of the shoot. Think about the colors, textures, and patterns that will enhance the visual impact of the images.
- Accessibility: Consider the accessibility of the location. Will you need to carry heavy equipment or props? Is the location easily accessible for everyone involved in the shoot? Make sure the location is safe and accessible for all involved.
- Weather: Keep an eye on the weather forecast, especially if you're planning an outdoor shoot. Make sure you have backup plans in case of rain or other adverse weather conditions.
Lighting is one of the most important factors to consider when taking photos, as it can greatly affect the mood, tone, and quality of your images. Here are some key factors to consider when working with different types of lighting:

- Natural Light: Natural light is often the most flattering and versatile light source for photography. When shooting outdoors, try to avoid harsh midday light and look for soft, even light in the early morning or late afternoon. Use the direction and intensity of the sunlight to create different effects and shadows on your subject.
- Artificial Light: When working with artificial light, such as indoor lighting or studio lighting, pay attention to the color temperature and intensity of the light. You can adjust the color temperature by using different types of light bulbs or gels, and you can adjust the intensity by using different types of light modifiers like softboxes or umbrellas.
- Shadows: Shadows can add depth and dimension to your photos, but they can also be distracting or unflattering. Pay attention to the direction and intensity of the light source, and adjust your positioning or use of reflectors to control the shadows in your images.
- Contrast: Contrast refers to the difference between the brightest and darkest areas in your photos. High contrast lighting can create dramatic and moody images, while low contrast lighting can create soft and subtle images. Experiment with different levels of contrast to see what works best for your subject and theme.
- White Balance: White balance refers to the color temperature of your photos. Different types of light sources can create different color casts in your images, such as a warm yellow cast from incandescent bulbs or a cool blue cast from fluorescent lights. Adjust the white balance in your camera settings or in post-processing to create accurate and consistent colors.
Film cameras come with a variety of controls that allow you to adjust settings and take photographs in different ways. Here is a basic guide to using the controls on a film camera:
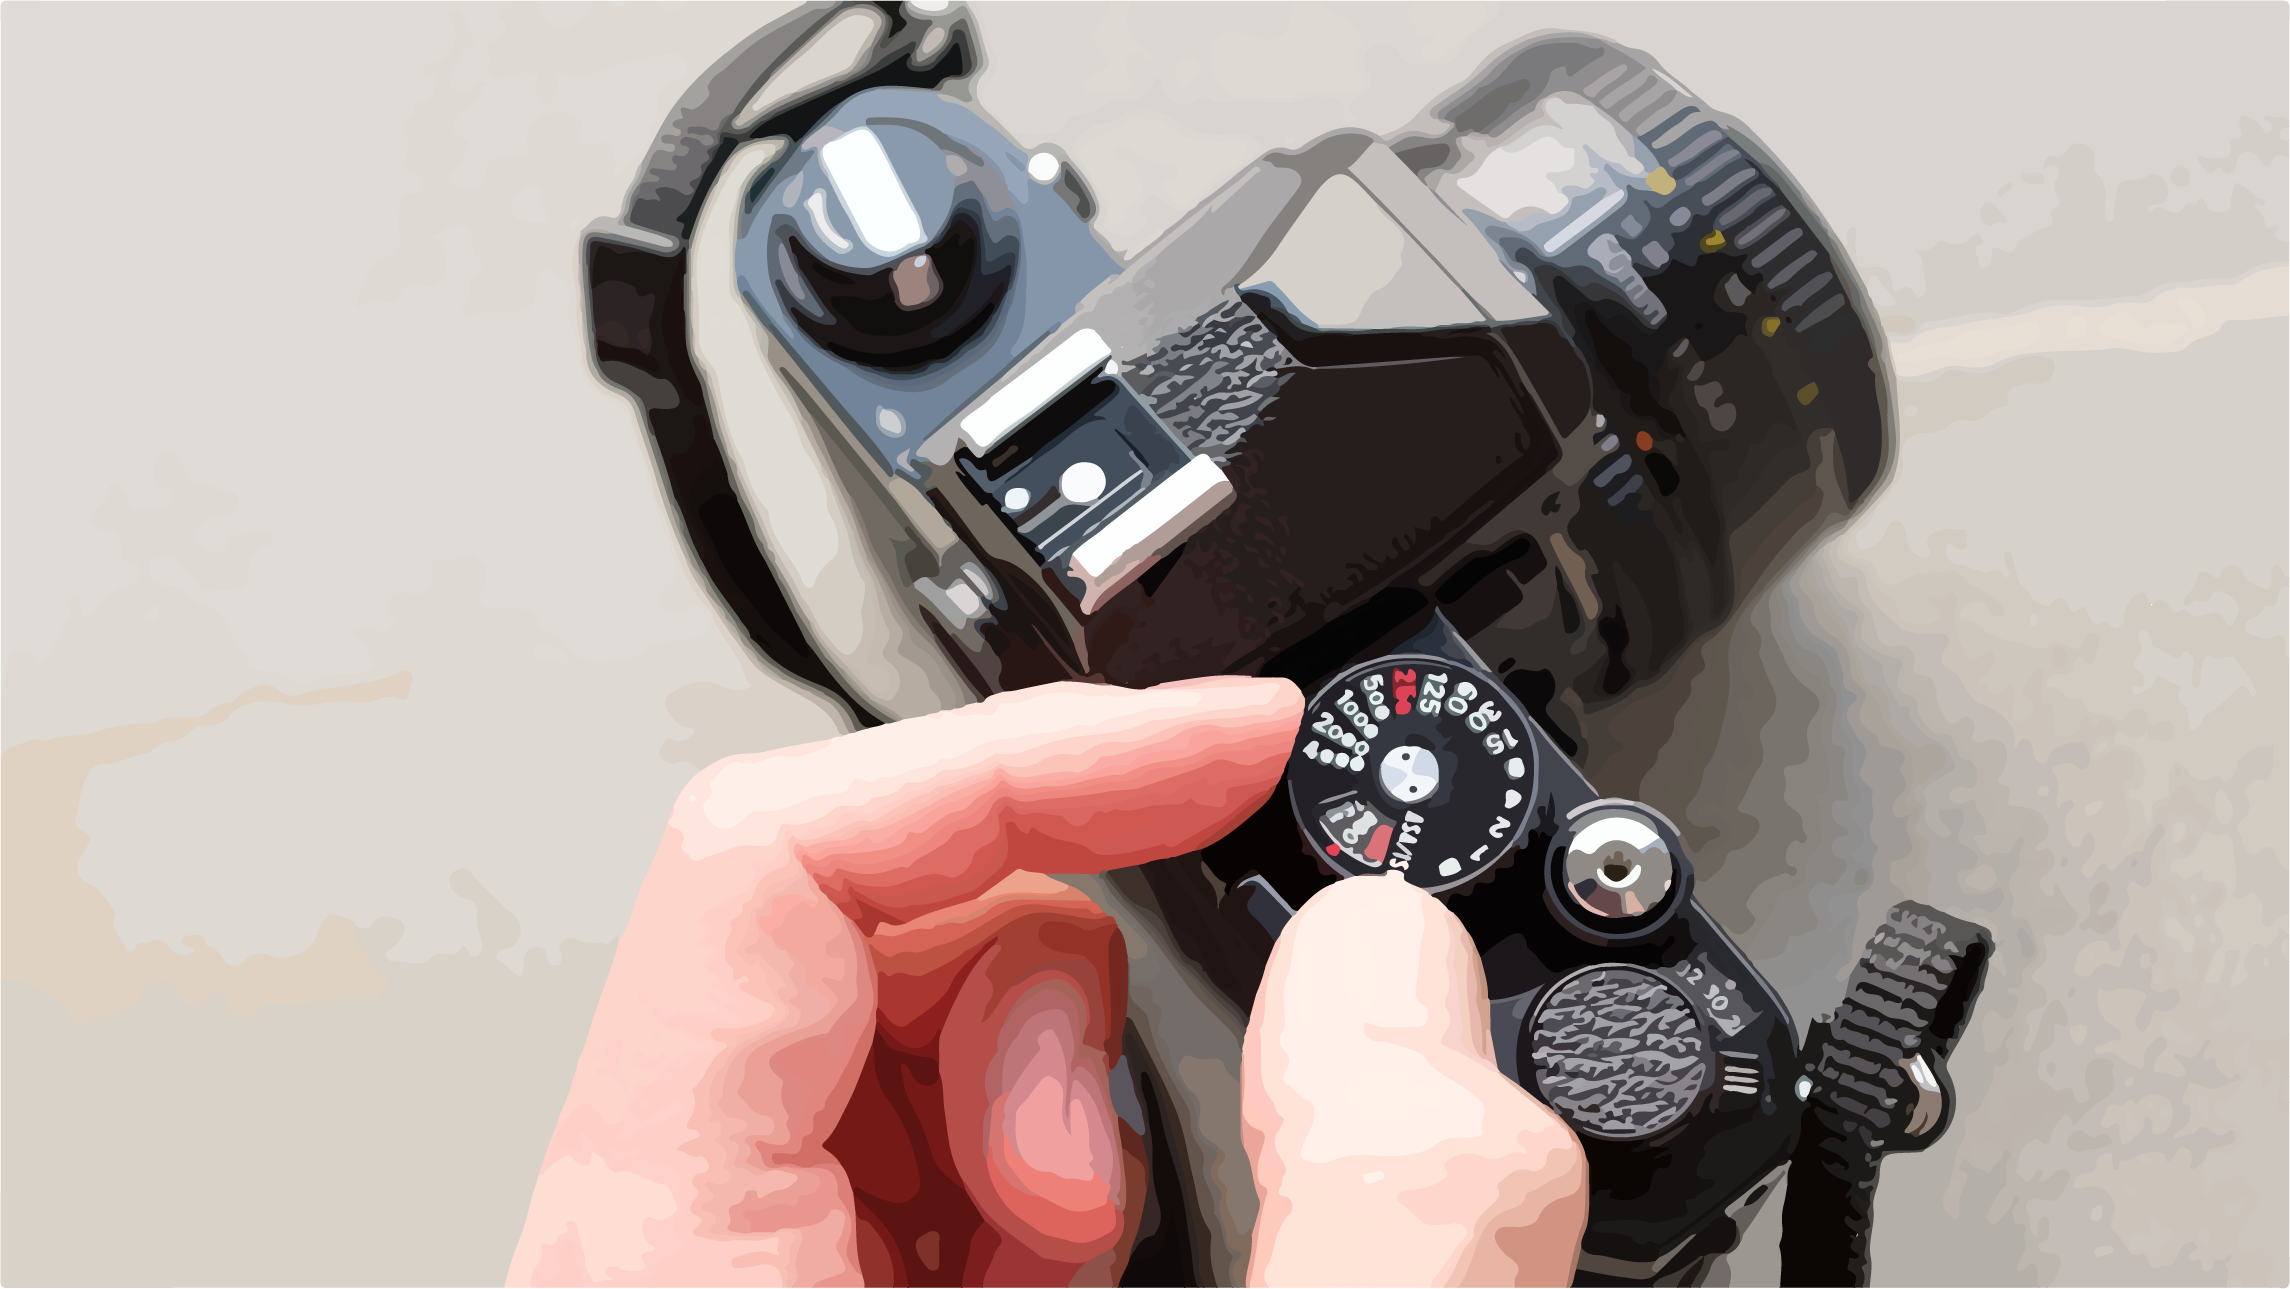
- ISO: The ISO setting on your camera determines the sensitivity of your film to light. You can adjust this setting to suit the lighting conditions you're shooting in. Higher ISO values make your film more sensitive to light, which is useful in low light conditions but may result in grainier photos.
- Shutter Speed: The shutter speed controls how long the camera's shutter remains open when taking a photograph. A faster shutter speed will freeze the action, while a slower shutter speed will blur motion. You can adjust the shutter speed to create a desired effect in your photos.
- Aperture: The aperture setting controls the size of the opening in the lens. A wider aperture lets in more light and results in a shallower depth of field, while a narrower aperture lets in less light and results in a deeper depth of field. You can use the aperture to control the focus of your photo.
- Focus: Manual focus controls allow you to adjust the lens to achieve sharp focus on your subject. Some cameras have an autofocus feature, which will automatically adjust the lens for you.
- Exposure: Exposure refers to the amount of light that reaches the film when you take a photograph. You can adjust the exposure by changing the shutter speed, aperture, and ISO settings. The goal is to get the right amount of light onto the film to create a well-exposed photo.
- Film Advance: After taking a photo, you need to advance the film to the next frame before taking another shot. You can do this by winding a lever or pressing a button, depending on the camera.
- Film Rewind: When you've finished shooting your roll of film, you need to rewind it back into the film canister. You can do this by pressing a button or turning a crank, depending on the camera.
Camera accessories can enhance your photography by providing additional functionality, improving image quality, or making your gear more convenient to use. Here are some common camera accessories and how to use them:
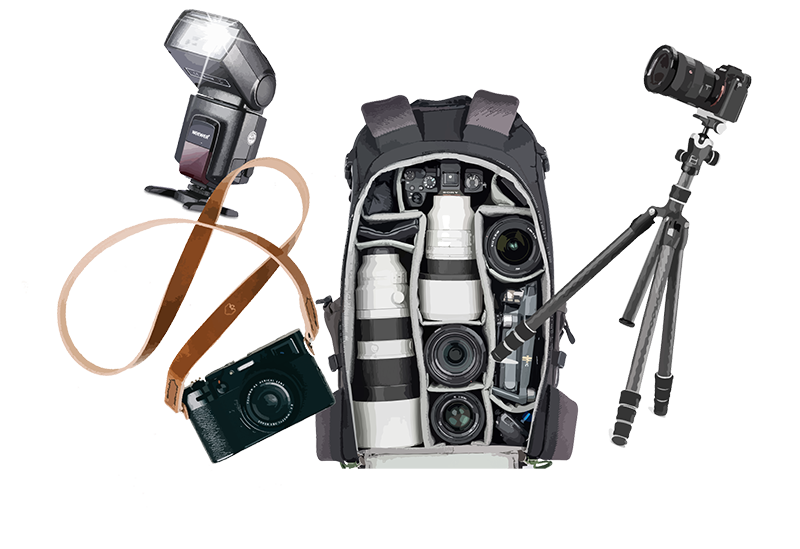
- Tripods: A tripod is a three-legged stand that helps keep your camera steady and level. Use a tripod when shooting in low light, long exposures, or when you need to keep your camera steady for an extended period. To use a tripod, attach your camera to the head of the tripod, adjust the height and angle of the legs and head, and lock the tripod in place.
- Filters: Filters are thin sheets of glass or plastic that attach to the front of your lens to modify the light that enters the camera. Common types of filters include polarizing filters, neutral density filters, and color filters. To use a filter, attach it to the front of your lens and adjust the settings on your camera as necessary.
- External Flash: An external flash is a portable light source that attaches to the top of your camera or a light stand. Use an external flash to add additional light to your subject, especially in low-light situations. To use an external flash, attach it to your camera's hot shoe, adjust the power and angle of the flash, and take your shot.
- Camera Bags: Camera bags are designed to protect your gear and make it easier to transport. Look for a camera bag with compartments that fit your camera body, lenses, and other accessories. To use a camera bag, place your gear in the appropriate compartments and carry the bag using the straps or handles.
- Remote Shutter Release: A remote shutter release is a device that lets you trigger your camera's shutter without physically touching the camera. Use a remote shutter release to reduce camera shake and vibration, especially when shooting at slow shutter speeds. To use a remote shutter release, attach it to your camera's remote port and press the button to trigger the shutter.