post production
Developing film photos involves a series of chemical processes that convert the latent image on a roll of exposed film into a visible image. Here are the basic steps involved in developing film photos:
- Preparing the chemicals: You will need to mix the developer, stop bath, and fixer according to the manufacturer's instructions. These chemicals are used to develop the film and stop the development process, fix the image, and remove any remaining chemicals.
- Loading the film onto a reel: The film is loaded onto a spiral reel in complete darkness, using the sense of touch. This must be done in a completely light-tight environment, such as a darkroom or changing bag, to prevent the film from being exposed to light.
- Developing the film: The loaded reel is placed in a developing tank, and the developer is poured in. The tank is agitated at regular intervals to ensure that the developer covers the entire surface of the film. The length of time the film is left in the developer depends on the type of film, its exposure, and the desired results.
- Stop bath: After developing the film for a specified time, the stop bath is poured into the tank, and the tank is agitated to ensure even coverage. The stop bath stops the development process, preventing the developer from continuing to affect the film.
- Fixer: After the stop bath, the fixer is poured into the tank and agitated. The fixer removes any remaining traces of undeveloped silver halides from the film, stabilizing the image and preventing further exposure.
- Washing: After fixing the film, it must be washed to remove any remaining chemicals. The film is washed in water at a specified temperature for a specific length of time.
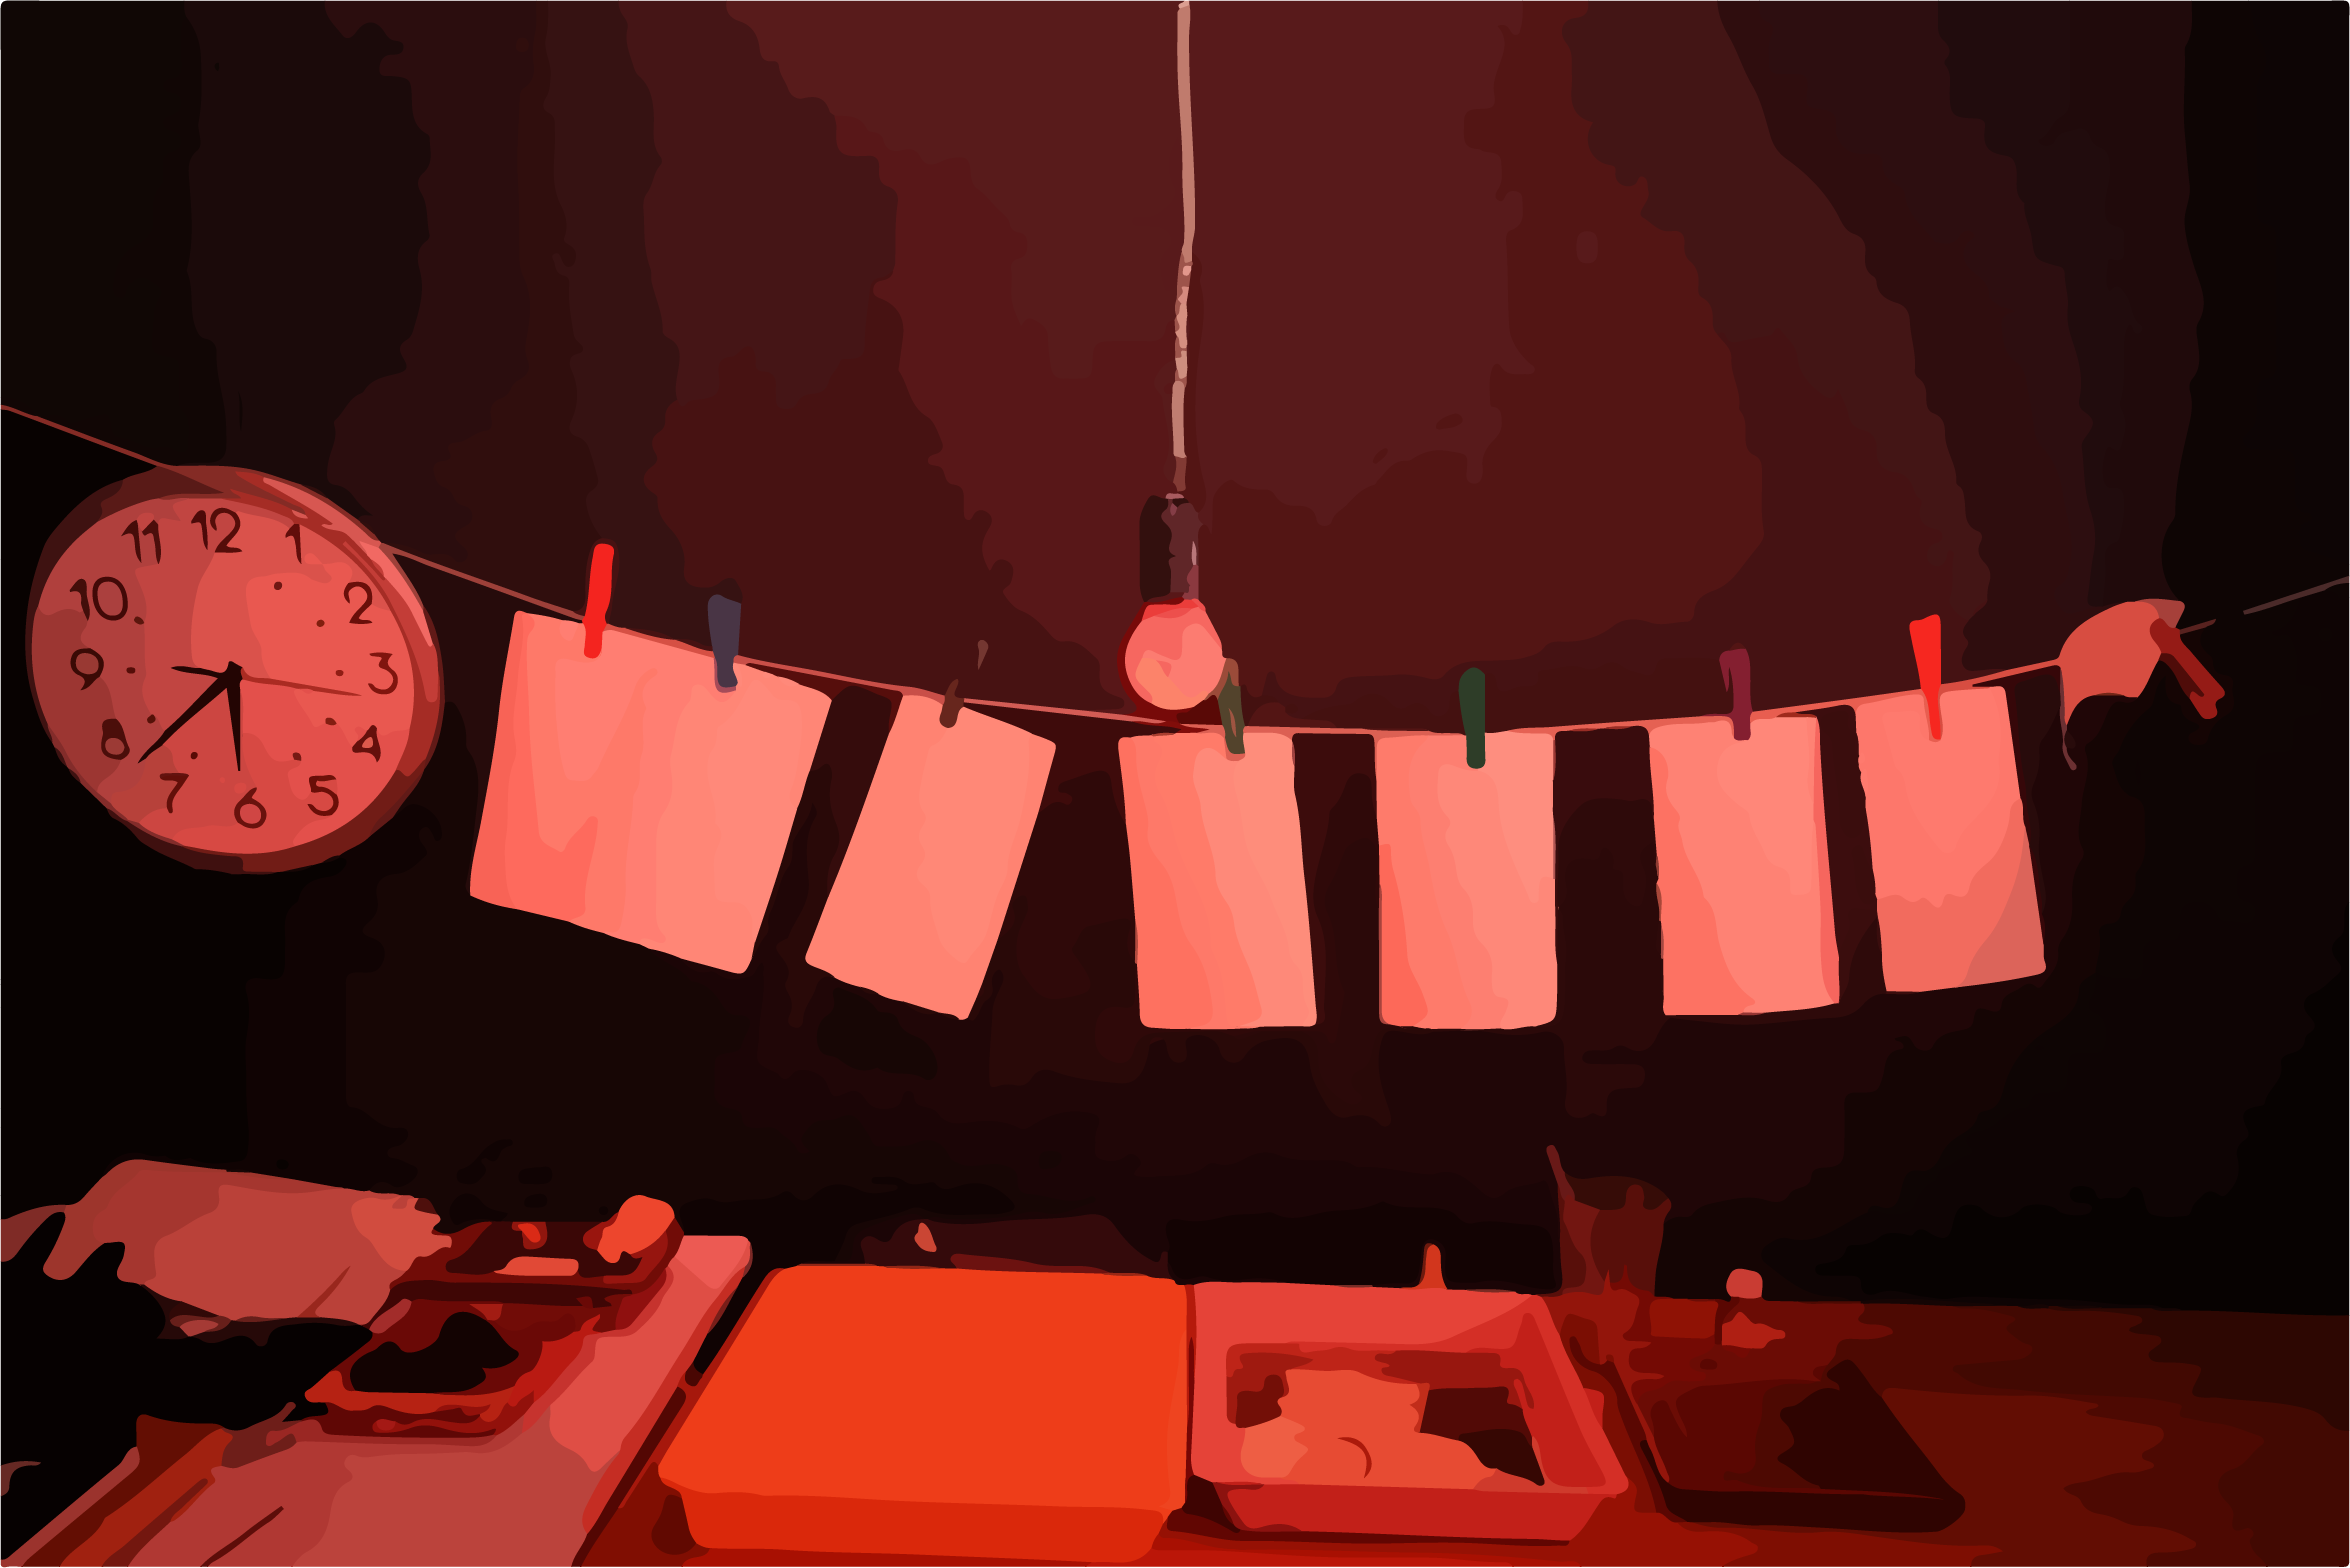
- Drying: The film is then hung or placed in a film dryer to dry. Once dry, the film can be cut into strips and placed in sleeves for storage or scanning.
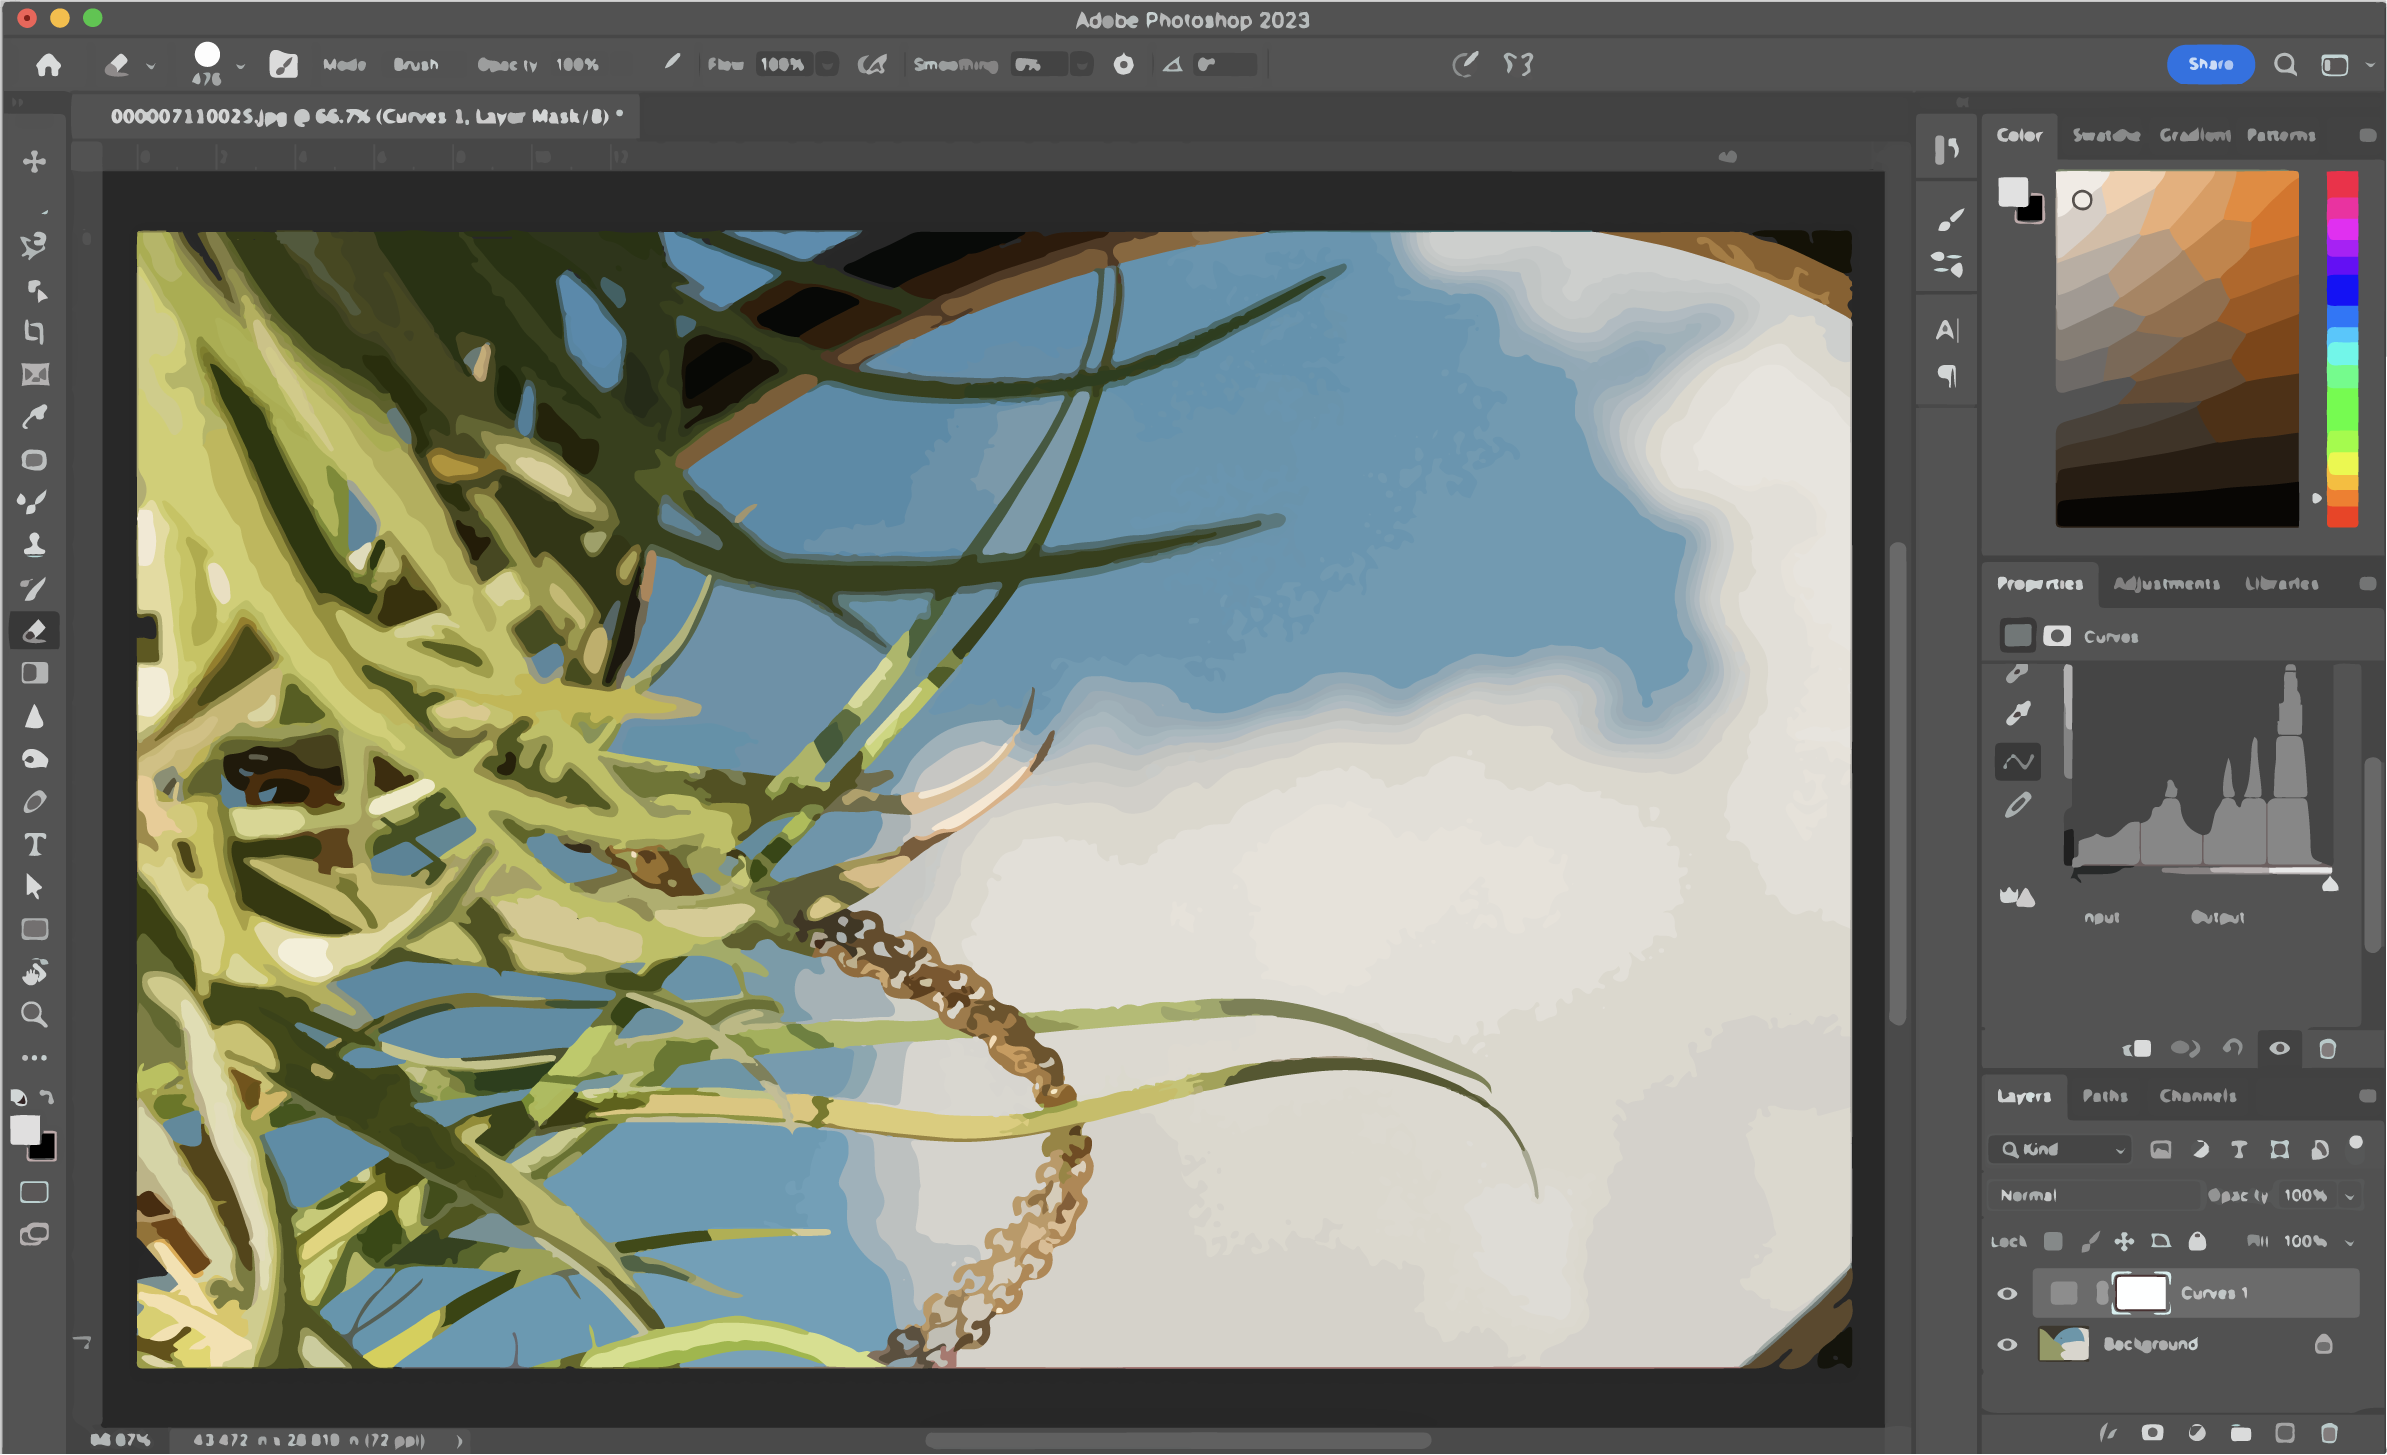
Editing photos is the process of making adjustments and enhancements to an image to improve its overall appearance. Here are some common steps involved in editing photos:
- Importing the photo: To start, you'll need to import the photo you want to edit into a photo editing software. This can be done by connecting your camera or phone to your computer or by selecting the photo from your files.
- Cropping and resizing: You can crop the photo to remove any unwanted elements or resize it to fit a specific output size or aspect ratio.
- Adjusting exposure: Adjusting the exposure can brighten or darken the image to achieve a desired effect. This can be done by adjusting the brightness, contrast, or levels.
- Color correction: You can adjust the color of the image to remove any color casts, balance the color, or enhance certain colors. This can be done by adjusting the saturation, hue, or color balance.
- Removing blemishes: You can remove any blemishes or unwanted elements from the image by using tools such as the clone stamp or healing brush.
- Sharpening and noise reduction: You can sharpen the image to make it appear more crisp and defined or reduce the noise to remove any graininess or digital artifacts.
- Adding filters or effects: You can add filters or effects to the image to achieve a specific mood or style. This can be done by using presets or by adjusting the individual settings.
- Saving and exporting: Once you've made your edits, you can save the file in the appropriate file format and export it for printing or online use.